Ring Camera Setup
If you’re having trouble setting up your Ring camera, here are some essential steps to follow: First, launch the Ring app and navigate to Settings. Select the malfunctioning camera from your list. Next, tap on Help or Contact Support for troubleshooting guidance. If those steps don’t resolve the issue, you can reach out to Ring support via chat or phone for assistance. Based on your situation, they may guide you through additional troubleshooting steps or discuss options for a replacement if needed.
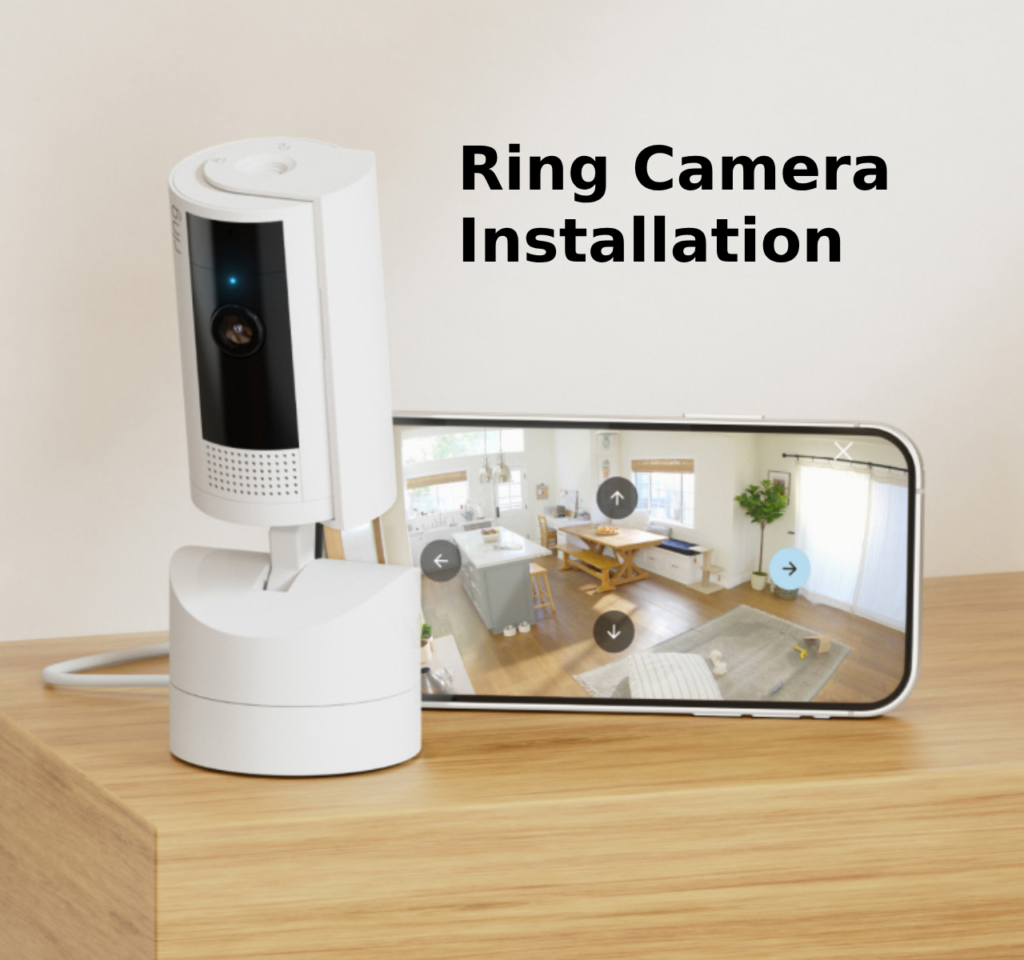
Ring Camera Installation
- Choose an Ideal Location: Select a spot for the camera that provides a clear view of your entry point and is within range of your Wi-Fi signal.
- Optimal Height: Install the camera at a height of approximately 4-5 feet for the best visibility and coverage.
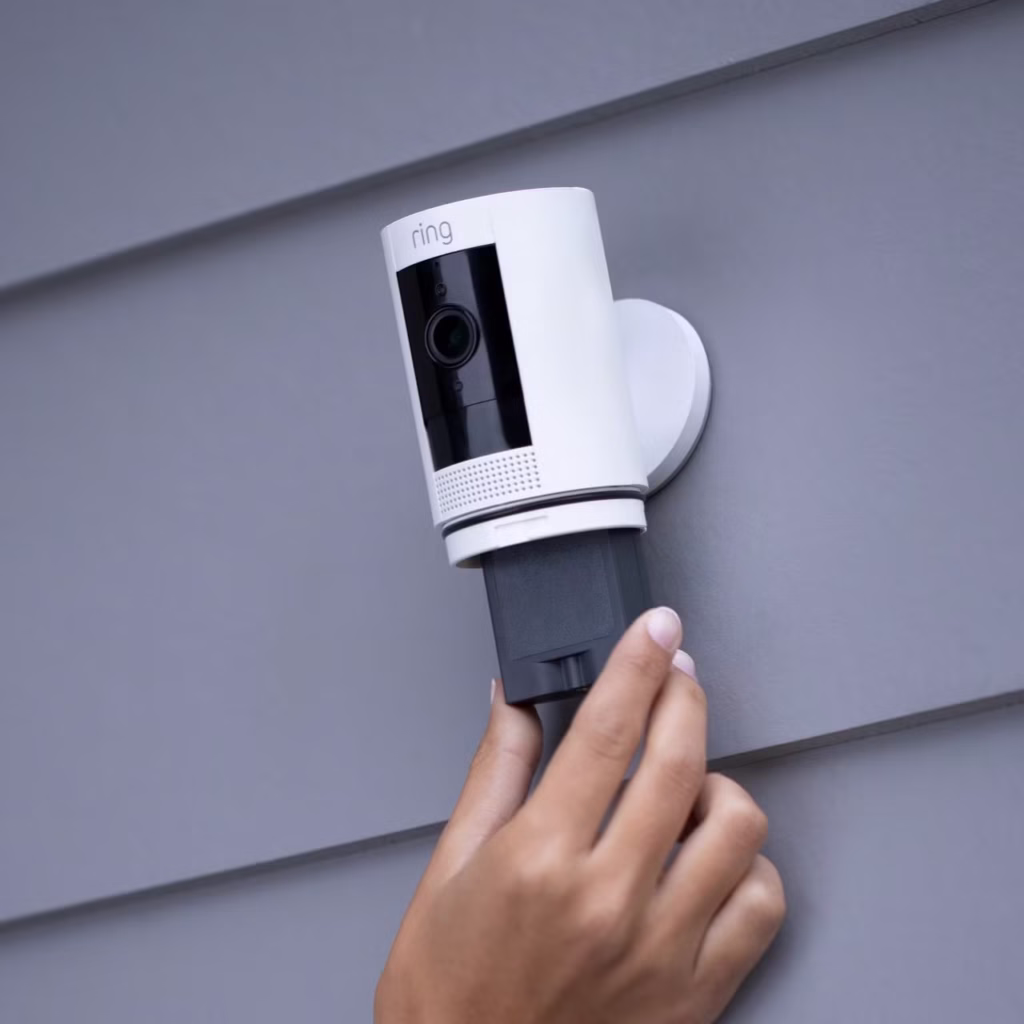
- Secure Mounting: Use the bracket included with your camera to mount it firmly onto your chosen surface.
- Mark Drill Holes: Follow the template provided to mark the screw holes on the wall or doorframe.
- Drill Pilot Holes: Create small pilot holes at the marked locations to facilitate the insertion of screws.
- Mount the Bracket: Once the pilot holes are ready, securely attach the mounting bracket by tightening the screws.
- Power Up the Camera: Connect the camera using the battery or the provided power adapter.
- Connect to Wi-Fi: Open the Ring app and follow the on-screen instructions to connect your camera to your Wi-Fi network.
- Adjust Camera Angle: Tilt the camera to capture the desired area.10. Configure Settings: Finally, adjust settings, such as motion detection alerts, in the app to suit your preferences.
Account Register a Ring Camera?
- Create an Account: Sign up using your email address and set a password. After creating your password, be sure to verify your email.
- Log In: Once your account is ready, log in to the app.
Select Your Device: Tap on “Set Up a Device” to view a list of supported devices. Choose “Camera” as the type of device you are setting up. - Power On Your Camera: Turn on your Ring camera by either plugging it in or inserting a battery.
- Connect to Wi-Fi: The app will guide you through connecting to your Wi-Fi network, including entering your password.
- Scan the QR Code: When prompted, scan the QR code located on the camera or on the packaging.
- Adjust Camera Angle: The app will show you the camera’s field of view. Feel free to adjust the angle if necessary.
- Customize Settings: Configure your motion detection and notification preferences within the app.
Once you’ve completed these steps, your camera setup is finished and ready for use!

Ring camera setup via manual setup
- Install the Ring App: Download the Ring application on your phone. Log into your existing account, or register for a new one if you don’t have an account yet.
- Set Up Your Device: Select the “Set Up Device” option and choose “Camera” from the list.
- Manual Setup Option: When prompted to scan a QR Code, tap on “Set up without scanning” to put your camera into manual setup mode.
- Activate Setup Mode: The app will display instructions, but you need to press and hold the setup button on your Ring camera for about 15 seconds until it enters setup mode. A flashing light on the camera will indicate that it is in setup mode.
- Choose Your Camera: Select your Ring camera from the list of available devices in the app.
- Connect to Wi-Fi: Follow the instructions to manually enter your Wi-Fi network name and password to connect the camera.
- Connection Confirmation: The app will establish a connection with the camera via your Wi-Fi. You will receive a confirmation once the connection is successful.
- Adjust Camera View: Check the camera’s field of view and make any necessary adjustments.
- Customize Settings: Use the app to customize your motion alerts, video storage options, and other settings as needed.
Ring Camera Setup via Ring App
- Download the app from the App Store or Google Play. Now open the app!
- Log into your existing account or create a new one by clicking the “Create an Account” button.
- In the app, click on the “Set Up a Device” button and select “Camera”.
- Choose the model of the camera you want to install.
- Plug in the camera or insert the battery to turn it on.
- Press and hold the camera’s setup button for about 15 seconds or until the light starts flashing.
- Select your camera in the app once it appears in the list of available devices.
- Choose your preferred Wi-Fi network and enter the password to connect the camera.
- Wait for the app to confirm the successful connection of the camera to Wi-Fi.
- Position the camera in a location that provides an optimal view of the desired area.
- Within the app, configure settings such as motion detection, alerts, and video preferences as needed.
How to fix Troubleshooting step ring camera
- Verify the status of your Ring camera by checking if the light is blinking or lit to see if it is powered on.
- Ensure the camera is placed within the Wi-Fi range and move it closer to the router if necessary.
- Test other devices to confirm the presence of an active Wi-Fi network.
- Restart the router and modem to resend signals, as this often resolves connectivity issues.
- Check that the Wi-Fi password is correctly entered and ensure compatibility, as Ring cameras only operate on 2.4GHz networks.
- Check the Ring app for available updates and download them if necessary.
- Perform a factory reset on the camera by pressing and holding the setup button for 15 seconds until the light blinks; then reconfigure it through the app.
- Try connecting the camera manually through the app if the automatic process fails.
- Ensure the camera has an unobstructed view and signal.
- If the video quality is still poor, reposition the camera or reduce the number of devices on your network.
- Contact Ring support if none of these steps resolve the issue.